Chocolate Banana Walnut Snack Bars
Highlighted under: Sugar Rush Kitchen
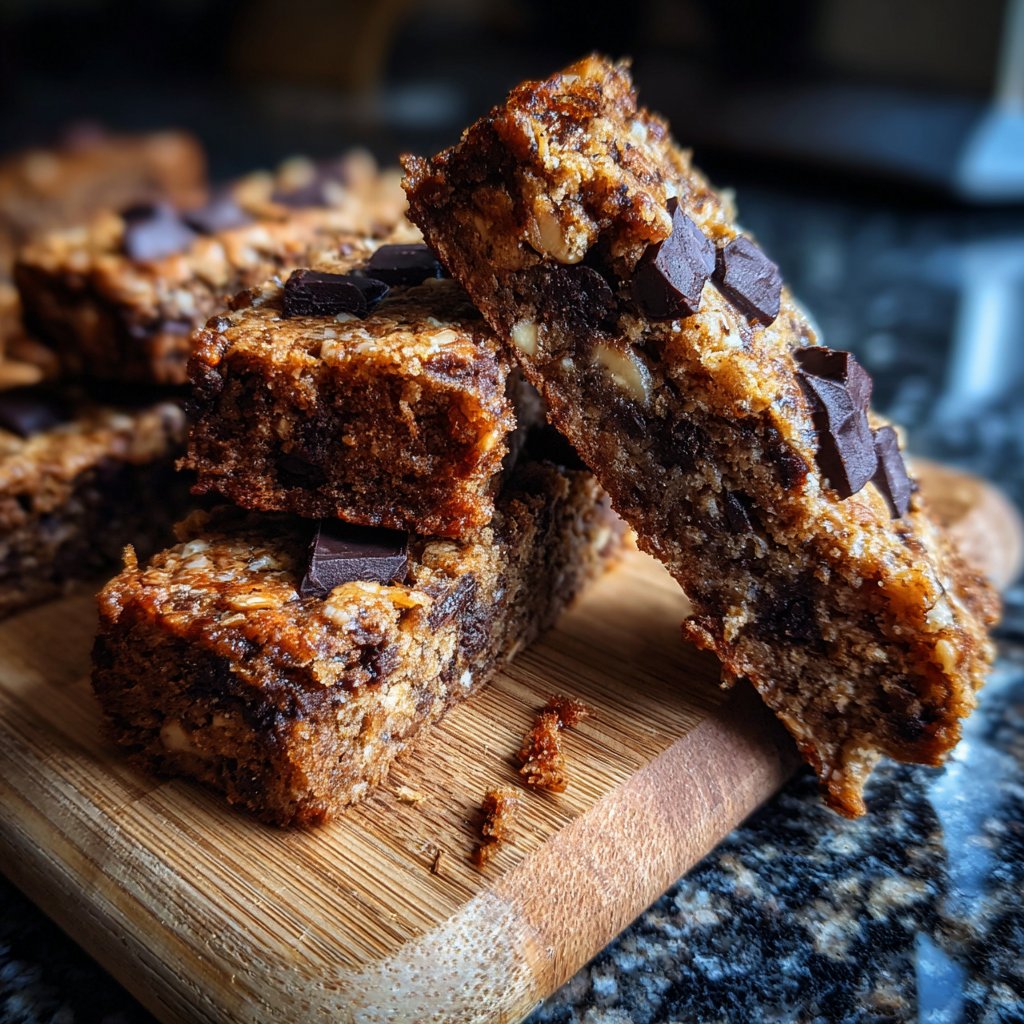
I absolutely love making these Chocolate Banana Walnut Snack Bars for a quick grab-and-go snack that’s both satisfying and nutritious. The combination of ripe bananas, rich chocolate, and crunchy walnuts creates a flavor explosion that’s hard to resist. Plus, they’re super simple to whip up, taking only a few minutes to prepare and bake. Whether I'm craving something sweet or need a quick energy boost before a workout, these bars are my go-to. They are perfect for sharing, but honestly, I often keep them all to myself!
When I first tried making these Chocolate Banana Walnut Snack Bars, I was amazed at how quickly they came together and how delicious they turned out. Using overripe bananas not only sweetens the bars naturally but also gives them a moist texture that I absolutely love. I recommend mashing the bananas well to ensure they blend perfectly with the other ingredients.
One of the best tips I can share is to slightly toast the walnuts before adding them to the mixture. This enhances their natural flavor and adds an extra crunch to every bite. The rich chocolate paired with the nutty aroma is just divine, making these bars a delightful snack!

Why You'll Love These Bars
- Delicious blend of chocolate and bananas that's irresistible
- Nutty crunch from walnuts adds texture and flavor
- Healthy snack option that's perfect for any time of day
Choosing the Right Bananas
For the best flavor and sweetness in these snack bars, use very ripe bananas. They're not only easier to mash, but their natural sugars give the bars a delightful sweetness without the need for excess added sugars. Look for bananas that are slightly brown on the skin—these are perfect for baking! If you’ve got bananas that are a bit overripe, don’t worry, they will work just fine and add even more moisture to your bars.
If you're in a pinch and don’t have ripe bananas on hand, you can hasten the ripening process by placing them in a paper bag at room temperature for a day. Alternatively, if you’re really short on time, you can microwave unripe bananas for about 30 seconds to soften them slightly, just be aware that this might not deliver the same depth of flavor.
Ingredient Insights
Cocoa powder is a star ingredient here, imparting a rich chocolate flavor while keeping the bars on the healthier side. Opt for unsweetened cocoa powder to really let the bananas’ natural sweetness shine. If you desire a more decadent experience, consider using dark cocoa powder for a deeper flavor. Just keep in mind that it may alter the sweetness level slightly—taste and adjust if you are experimenting!
The walnuts not only add a delightful crunch but also provide omega-3 fatty acids. If you have a nut allergy, you can substitute walnuts with pumpkin seeds or sunflower seeds for a similar crunch without the nuts. Additionally, you can also experiment with different flavors by adding dried fruits, such as raisins or cranberries, to give the bars a little twist.
Ingredients
Gather the following ingredients to make your Chocolate Banana Walnut Snack Bars:
Ingredients
- 2 ripe bananas, mashed
- 1/2 cup of unsweetened cocoa powder
- 1/2 cup of honey or maple syrup
- 1/4 cup of melted coconut oil
- 1 cup of rolled oats
- 1/2 cup of chopped walnuts
- 1 teaspoon of vanilla extract
- 1/2 teaspoon of baking powder
- 1/4 teaspoon of salt
Instructions
Follow these simple steps to prepare your snack bars:
Preheat the Oven
Preheat your oven to 350°F (175°C) and line an 8x8 inch baking dish with parchment paper.
Mix Wet Ingredients
In a large bowl, combine the mashed bananas, cocoa powder, honey or maple syrup, and melted coconut oil. Whisk until smooth.
Combine Dry Ingredients
In another bowl, mix the rolled oats, chopped walnuts, baking powder, and salt. Stir until well combined.
Combine All Ingredients
Add the dry mixture to the wet mixture and stir until just combined. Do not overmix.
Bake the Bars
Pour the batter into the prepared baking dish and spread it evenly. Bake for 25 minutes or until a toothpick inserted comes out clean.
Cool and Cut
Allow the bars to cool in the pan for 10 minutes, then lift out using the parchment paper. Cut into squares and enjoy!
Pro Tips
- For added flavor, you can mix in some chocolate chips or swap walnuts for your favorite nut. These bars can be stored in an airtight container for up to a week.
Storing and Freezing
These bars can be stored at room temperature in an airtight container for up to 5 days, perfect for a quick snack throughout the week. For longer storage, I recommend wrapping them individually and freezing them. They can last for up to 3 months in the freezer. When you're ready to enjoy a bar, simply remove it from the freezer and let it sit at room temperature for about 30 minutes to thaw, or pop it in the microwave for a quick 10-15 seconds for a warm treat.
To prevent the bars from becoming too dry when stored, consider adding a slice of bread into the container with them. This will help keep the moisture in—just remember to replace the bread slice as needed. When you pack these bars for on-the-go snacks, I recommend using parchment paper to avoid sticking.
Serving Suggestions
Though these bars are delicious on their own, you can elevate the experience with some fun serving ideas. Serve them with a dollop of Greek yogurt or a smear of almond butter for a creamy contrast. Alternatively, pair them with fresh fruit like berries or apple slices for a refreshing balance to the richness of the chocolate and walnuts.
If you want to cater to a crowd, consider cutting the bars into smaller squares and serving as bite-sized snacks at gatherings. They can also make a wholesome addition to a breakfast spread. Drizzle with a bit of melted dark chocolate or top with a sprinkle of sea salt for an extra gourmet touch that will impress friends and family alike.
Questions About Recipes
→ Can I substitute the honey?
Yes, you can use maple syrup or agave nectar as a substitute for honey.
→ How can I make these bars vegan?
Simply use maple syrup instead of honey and ensure your cocoa powder is dairy-free.
→ What if I don’t have walnuts?
Feel free to use any nuts you prefer or even omit them entirely!
→ Can I freeze these bars?
Absolutely! Once cooled, wrap them individually and store in the freezer for up to 3 months.
Chocolate Banana Walnut Snack Bars
What You'll Need
Ingredients
- 2 ripe bananas, mashed
- 1/2 cup of unsweetened cocoa powder
- 1/2 cup of honey or maple syrup
- 1/4 cup of melted coconut oil
- 1 cup of rolled oats
- 1/2 cup of chopped walnuts
- 1 teaspoon of vanilla extract
- 1/2 teaspoon of baking powder
- 1/4 teaspoon of salt
How-To Steps
Preheat your oven to 350°F (175°C) and line an 8x8 inch baking dish with parchment paper.
In a large bowl, combine the mashed bananas, cocoa powder, honey or maple syrup, and melted coconut oil. Whisk until smooth.
In another bowl, mix the rolled oats, chopped walnuts, baking powder, and salt. Stir until well combined.
Add the dry mixture to the wet mixture and stir until just combined. Do not overmix.
Pour the batter into the prepared baking dish and spread it evenly. Bake for 25 minutes or until a toothpick inserted comes out clean.
Allow the bars to cool in the pan for 10 minutes, then lift out using the parchment paper. Cut into squares and enjoy!
Extra Tips
- For added flavor, you can mix in some chocolate chips or swap walnuts for your favorite nut. These bars can be stored in an airtight container for up to a week.
Nutritional Breakdown (Per Serving)
- Calories: 200 kcal
- Total Fat: 9g
- Saturated Fat: 4g
- Cholesterol: 0mg
- Sodium: 55mg
- Total Carbohydrates: 31g
- Dietary Fiber: 3g
- Sugars: 10g
- Protein: 4g